OpenAI Codex Product Design Plugin: What It Actually Does
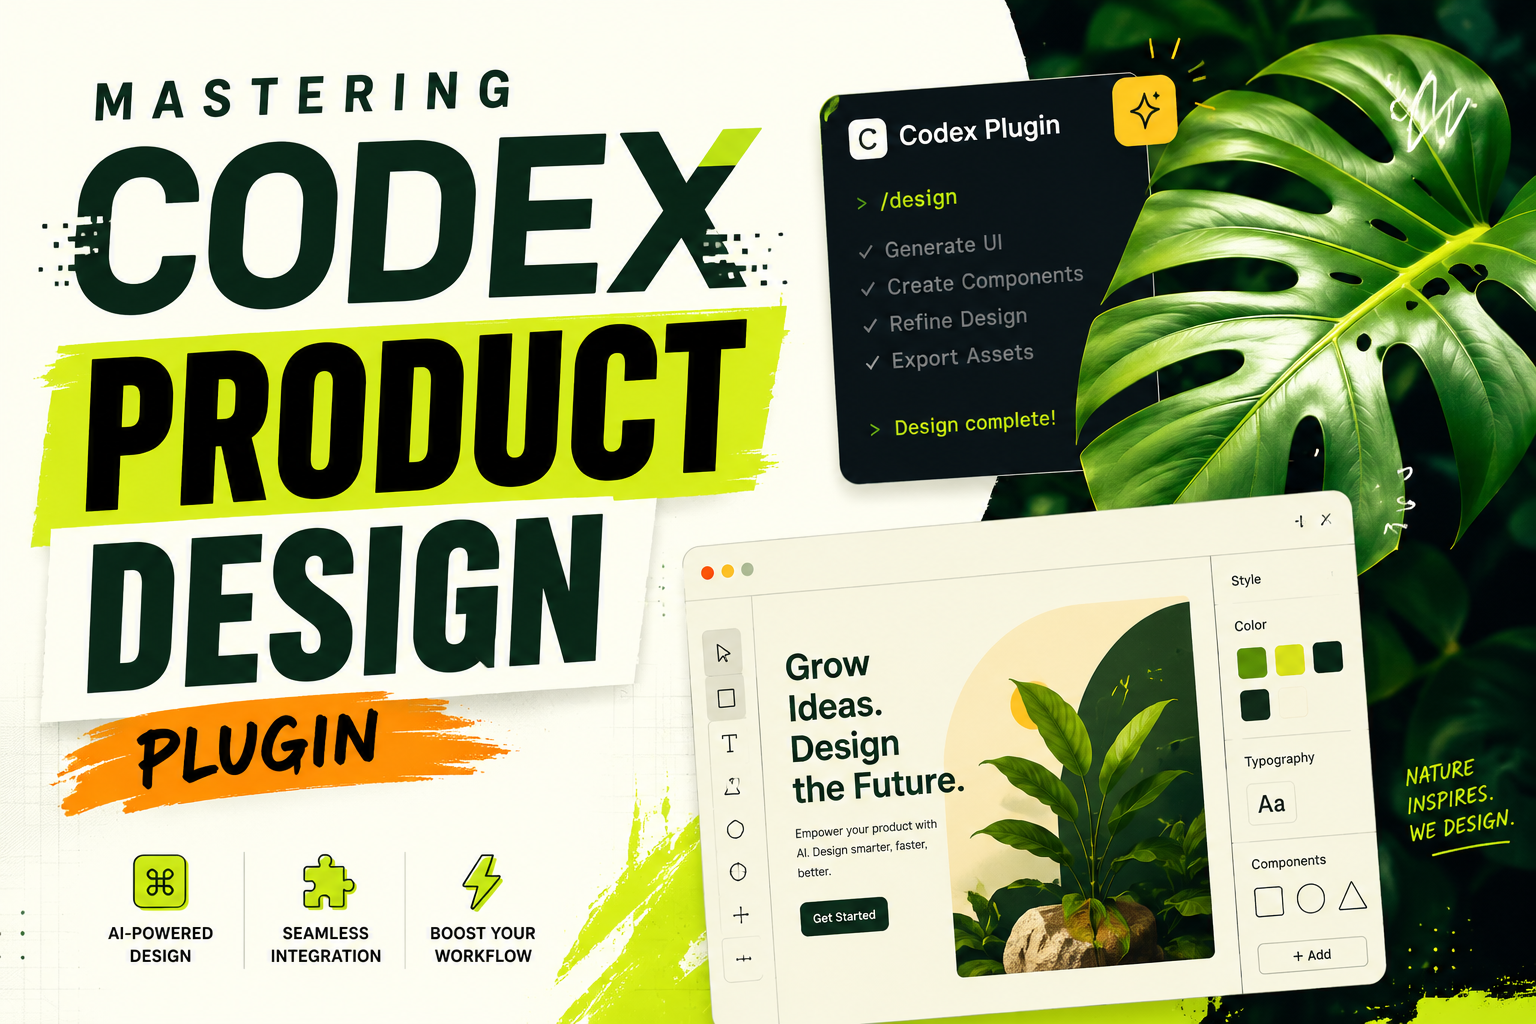
OpenAI released the Codex Product Design plugin in June 2026 as part of their new role-specific tools. The plugin sits between your design files and your codebase, trying to solve a problem every frontend developer knows: the gap between what the designer shows you and what you actually build.
I spent a week testing it with a real Figma file and a WordPress theme. Here is what works, what does not, and whether it fits your workflow.
What the Codex Product Design Plugin Does
Most AI code generators create isolated components. You ask for a button, you get a button. The Codex plugin tries to work differently. It reads your existing design system and codebase before generating anything, which changes how it approaches problems.
Here is what the plugin can do:
| Feature | What It Actually Does |
|---|---|
| Design-to-code conversion | Reads Figma files and outputs Tailwind configs or CSS variables |
| Prototype generation | Creates live preview links you can share before writing code |
| Component matching | Scans your existing code to reuse components instead of creating new ones |
| Accessibility checks | Flags WCAG issues in your generated layouts |
The last two features are the most useful in practice. The first two sound impressive but have real limitations I will cover below.
How It Actually Works
Design Token Extraction
The plugin connects to your Figma account and reads design tokens. It pulls colors, fonts, spacing values, and other variables from your Figma files.
In my test, this worked well for simple designs. My test file had 12 color variables and 4 font sizes. The plugin extracted them correctly and generated a clean tailwind.config.ts file.
For complex design systems, results vary. Figma files with many nested components or unusual naming conventions can confuse the extraction. You will likely need to clean up the output.
Prototype Generation
You describe what you want in plain English, and the plugin generates a live preview link. The preview runs in a sandboxed environment where you can test different screen sizes and interactions.
The preview quality depends on how well you describe what you want. Vague prompts produce generic layouts. Specific prompts with exact measurements, colors, and spacing produce better results.
One limitation: the previews use generic components, not your actual design system. They look similar to your design but do not match exactly.
Component Reuse
This is the most practical feature. The plugin scans your existing codebase for components it can reuse instead of creating new ones.
If you have a Button component in your React project, the plugin will use it when building new pages. This prevents the common AI problem of creating duplicate components with slightly different styles.
The plugin works with React, Vue, WordPress themes, and plain HTML. It reads your component structure and tries to match new requests to existing patterns.
SEO Features
The plugin includes some SEO improvements that save manual work:
-
Semantic HTML: It uses proper HTML5 tags like
<header>,<main>, and<article>instead of generic divs. This helps search engines understand your page structure. -
Schema markup: For e-commerce or portfolio pages, the plugin can add JSON-LD structured data. This helps Google understand your content type and display rich results.
-
Performance basics: The generated code avoids common layout shift problems by including width and height attributes on images. It also prefers system fonts and modern image formats.
These are good starting points, but they are not complete SEO solutions. You still need to write unique meta descriptions, add internal links, and optimize your content for specific keywords.
Combining Codex with Other Tools
The Codex plugin works within OpenAI’s ecosystem, but most developers use multiple tools. I tested a workflow where Codex handles design conversion and Claude Code handles implementation.
Here is how it works in practice:
- Use Codex to convert your Figma design into a design spec file (
design-spec.md) and Tailwind config (tailwind.config.js) - Move these files to your project directory
- Use Claude Code to read these files and implement the changes in your actual codebase
The advantage is that Codex understands design systems while Claude Code understands your specific project structure. Each tool handles what it does best.
This workflow makes sense if you already use both tools. If you only use one, the integration benefits disappear.
What I Think After Testing
The Codex Product Design plugin solves a real problem: turning designs into code without losing design system consistency. The design token extraction and component reuse features work well in practice.
The prototype generation is less useful than it sounds. You still need to write production code, and the previews do not match your actual components. The SEO features are good starting points but not complete solutions.
If you work with designers who use Figma and you want to reduce manual conversion work, the plugin is worth trying. If you already have a workflow that works, the benefits may not justify switching.
The most interesting part is the direction: AI tools that understand design systems instead of just generating isolated components. This approach will likely improve as more tools adopt similar strategies.
Next steps
- Install Claude Code - Set up Claude Code on your machine for AI-assisted development
- Claude Code Vision: Add Image Recognition - Enhance your workflow with visual debugging capabilities
- Claude Code Context Commands - Master context management for efficient coding sessions